Static IP Address
A computers identity on a network is established by it's IP address, commonly
explained as being like a computers phone number. But on a typical home network
this number changes frequently based on what is connected, this is done by DHCP
(Dynamic Host Control Protocol). This typically works well for most devices but for a server the IP address
needs to remain the same at all times, this allows other devices needing the
server to find it every time. This is known as a static IP address, and is an
important part in the server's network setup.
How To Guide:
Open a DOS Command Prompt window by pressing
the
 key and
R
key and
R
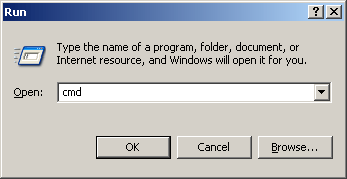
Type "cmd" and click OK
In the DOS window, type "ipconfig /all" then enter
key
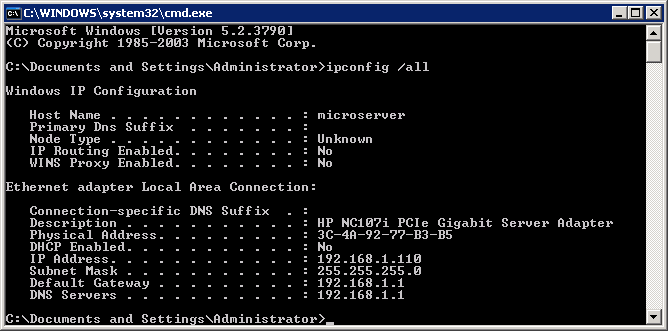
The information displayed shows the current network setup for the server, look
for the section labelled "Ethernet adapter Local Area Connection"
and note down the following details:
IP Address
Default Gateway
DNS Servers
Next open Windows Network Control Panel by pressing
and R
again, this time type "ncpa.cpl" into the Run box, and click
OK
Note: it may look very different depending on the operating system used, but the
functionallity is the same
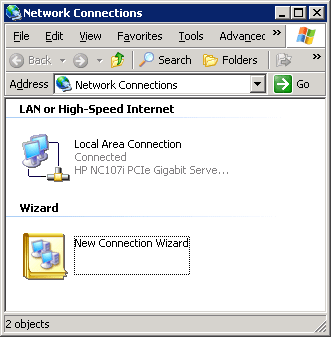
In this window look for the icon named "Local Area Connection",
right click it and choose Properties
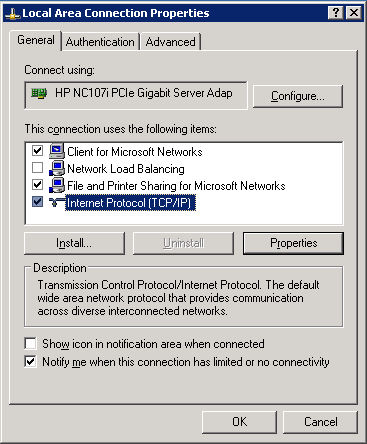
Click on "Internet Protocol (TCP/IP)" to highlight it, then
click the Properties button below
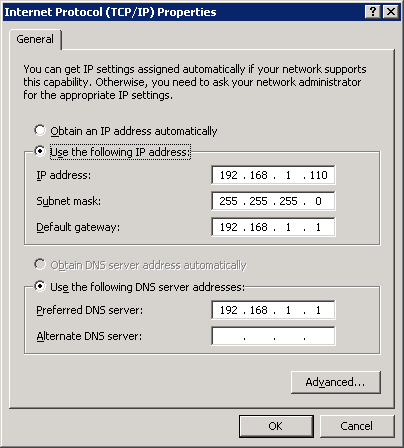
Switch the radio button to "Use the following IP address" and
choose a new perminent IP address
For simplicity, keep the first three sections the same as you noted earlier (in
this example 192.168.1...)
The last set of numbers, its best to choose a value at least 50 points higher
than the current IP to avoid clashing with other devices on the network. The
maximum value possible is 255.
After typing the new IP address, the Subnet mask is entered automatically, then
copy the values written down into the Default Gateway field and
the DNS address goes into the Preferred DNS server field.
Click OK and the server will start using the new address as it's perminent home.